How to Fix Peeling Paint on Walls: Easy Solutions
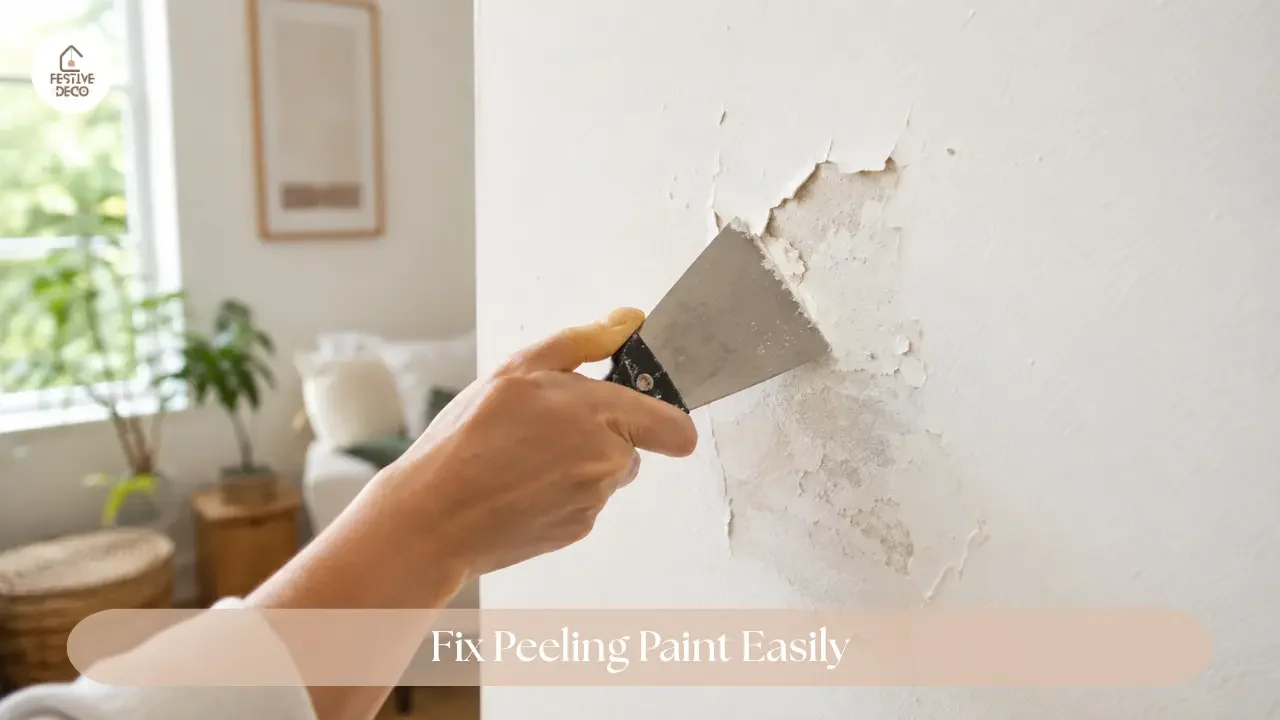
Peeling paint can make an otherwise neat room look tired very quickly. It may start as one tiny lifted edge near a window, a few flakes around a corner, or a rough patch that keeps getting worse. The good news is that learning how to fix peeling paint on walls is usually manageable when the underlying cause is handled first. Simply painting over loose paint may hide it for a little while, but the problem often returns if moisture, poor surface preparation, or old damaged paint is still there.
Before doing anything, look closely at the wall. Paint usually peels for a reason. A bathroom wall may have too much steam, a wall near a window may be getting damp, or an older painted surface may not have been cleaned or primed properly before it was painted. Once you understand what caused the peeling, the repair becomes much more likely to last and the wall will look smoother too.
Why Does Paint Peel Off Walls?
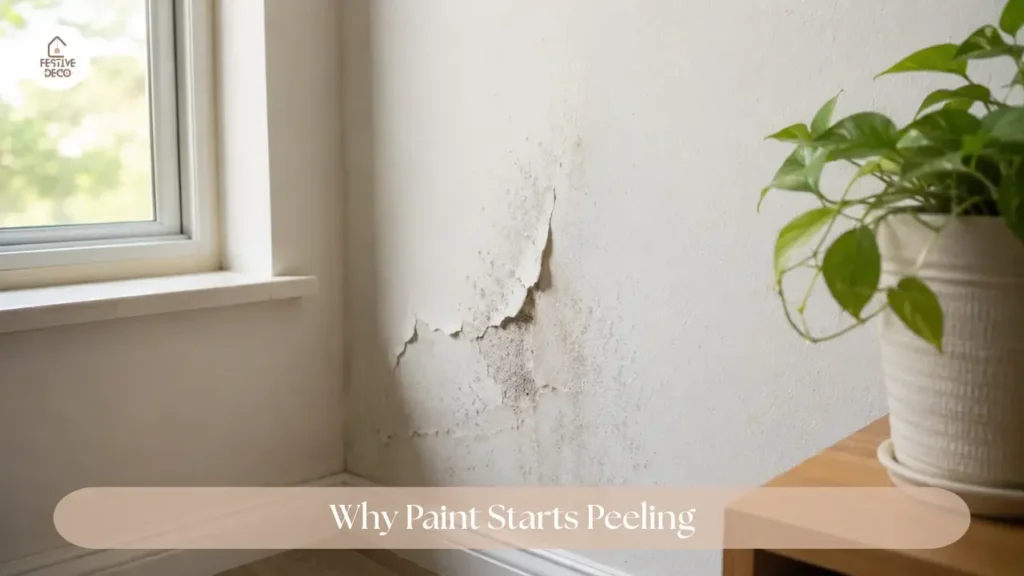
Peeling wall paint is often linked to moisture, but it is not the only reason. Paint needs a clean, dry, stable surface to stick properly. If the wall was dusty, greasy, damp, or already flaky when it was painted, the new layer may eventually lose its grip.
In kitchens, bathrooms, and laundry areas, humidity can slowly weaken paint over time. In bedrooms and living rooms, peeling paint may happen because of a leak, condensation, or poor adhesion from an earlier paint job. Sometimes the issue is simply age. Old paint can become brittle and begin to crack or lift after years of temperature changes and everyday wear.
Common causes of paint peeling on walls include:
- Dampness from a leak, condensation, or high humidity
- Painting over a dirty, dusty, or greasy wall
- Applying paint before the surface was fully dry
- Skipping primer on a repaired or uneven wall
- Using incompatible layers of old and new paint
- General wear on older painted walls
If you notice a large damp patch, a continuing leak, or paint peeling in the same place again and again, solve that issue before repainting. Otherwise, even a careful repair may not hold for long.
How to Fix Peeling Paint on Walls Step by Step
The main idea is simple: remove anything loose, make the surface smooth, prepare it properly, and then repaint. It is tempting to cover the damaged area quickly, especially when it is small, but taking time with the preparation makes a noticeable difference.
Start by moving nearby furniture away from the wall and covering the floor with an old sheet or drop cloth. Open windows where possible so the room has fresh airflow. If the paint is very old or you are unsure when it was applied, avoid sanding it yourself and ask a qualified professional for guidance, especially in older homes where lead-based paint may be a concern.
Remove Loose and Flaking Paint Carefully
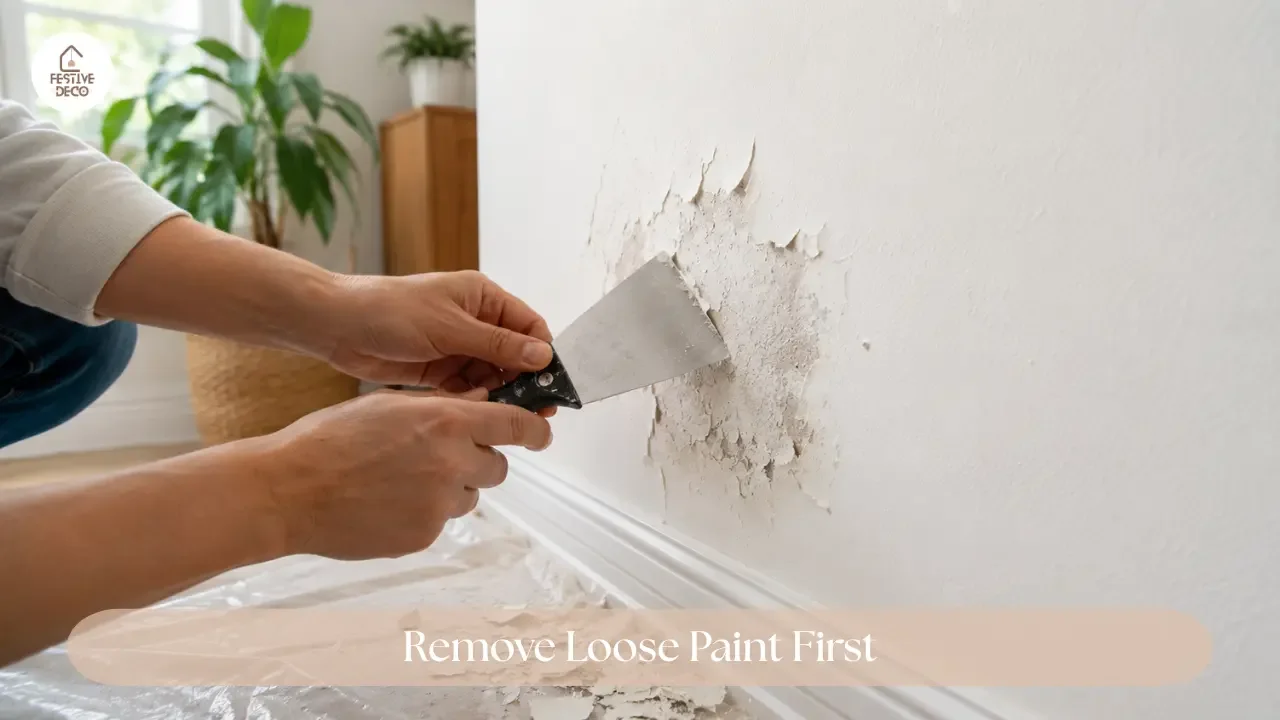
Begin by gently lifting away only the paint that is already loose or peeling. A paint scraper or putty knife can help, but there is no need to press aggressively into the wall. The goal is to remove the unstable paint until you reach an area that feels firmly attached.
This part can look a little messy at first because the damaged patch may become wider than expected. That is normal. It is better to remove weak paint now than leave it underneath a fresh coat. Once the loose paint is gone, run your hand lightly over the area. If more edges lift easily, remove those too.
For a smoother repair, keep these points in mind:
- Work slowly around the peeling edges instead of scraping one large area at once.
- Stop when the surrounding paint feels firm and stable.
- Collect loose flakes as you work so they do not spread around the room.
- Do not repaint directly over paint that still feels raised or loose.
Smooth the Wall Before Repainting
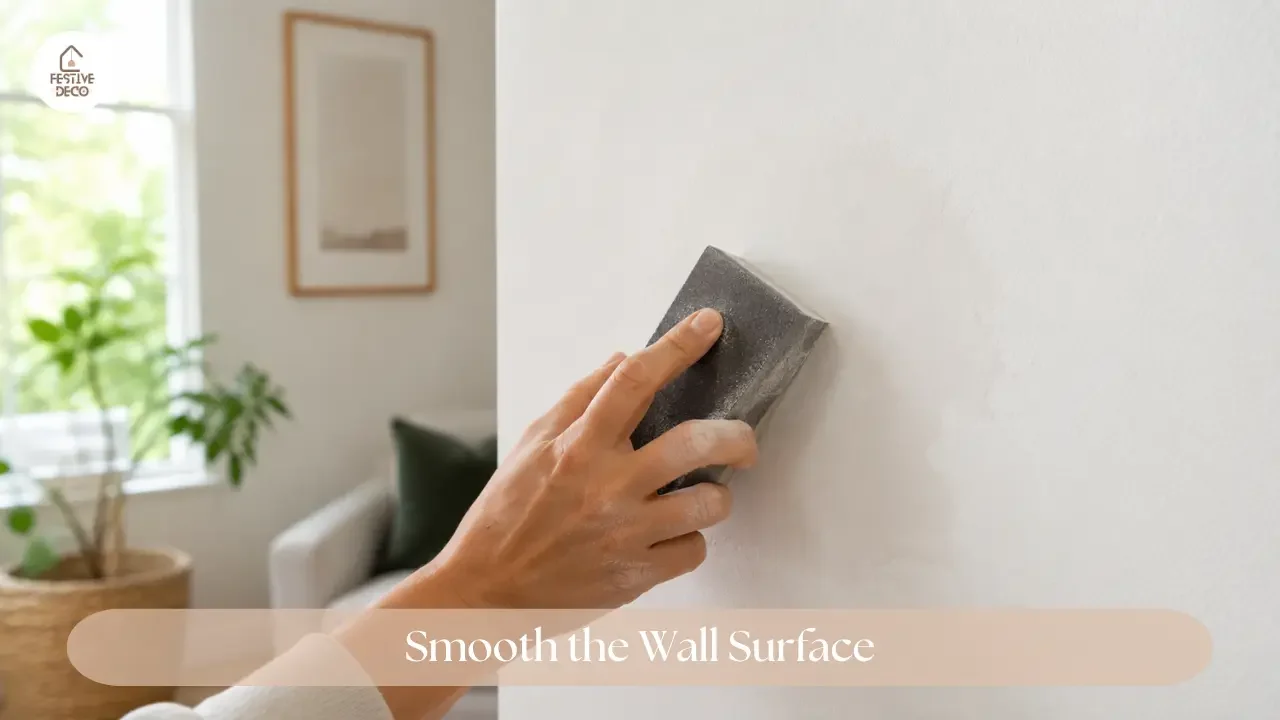
After removing loose paint, the wall may feel uneven where the old layer ended. This is where many quick repairs go wrong. If the edge is left rough, it can still show through after repainting, especially in daylight or near a lamp.
For newer paint surfaces, lightly smooth the transition between the bare patch and the existing paint using fine-grit sandpaper. Keep the motion gentle and avoid creating a deep dip in the wall. Wipe away dust with a clean, slightly damp cloth afterward, then allow the area to dry fully.
If there are small dents, cracks, or uneven spots, use a suitable wall filler according to its label instructions. Apply a thin amount rather than a thick layer. Once it has dried completely, lightly smooth it so the repaired area blends into the wall. A wall does not need to be perfect under a microscope, but it should feel even when you run your hand across it.
Fix Moisture Problems Before You Paint Again
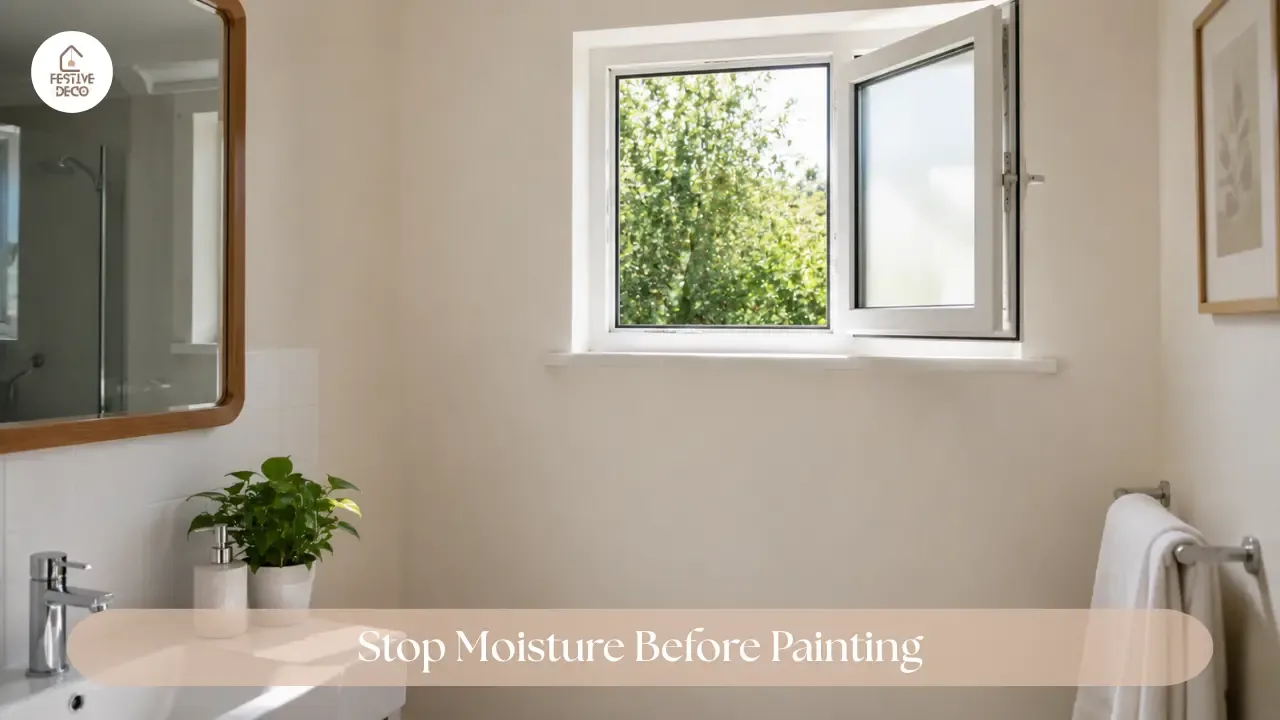
A fresh coat of paint cannot fix a moisture problem underneath it. If the peeling paint is close to a window, ceiling, pipe, bathroom shower area, or exterior-facing wall, check whether the surface feels damp or looks stained. In those cases, wait until the wall is fully dry and address the source of moisture first.
For example, improving ventilation in a steamy bathroom can help reduce future bathroom wall paint peeling. A leaking pipe or roof issue may need attention from a qualified repair professional. If condensation regularly forms near a window, keeping the area dry and allowing more airflow can help.
Signs that you should investigate the wall before repainting include:
- A musty smell near the damaged area
- Yellow, brown, or dark water marks
- A wall that feels cool or damp to the touch
- Paint that bubbles or peels again soon after repair
- Cracks around windows, ceilings, or pipes
Handling the cause first may take a little more time, but it prevents the same wall repair from becoming a repeated job.
Use Primer for a Longer-Lasting Finish
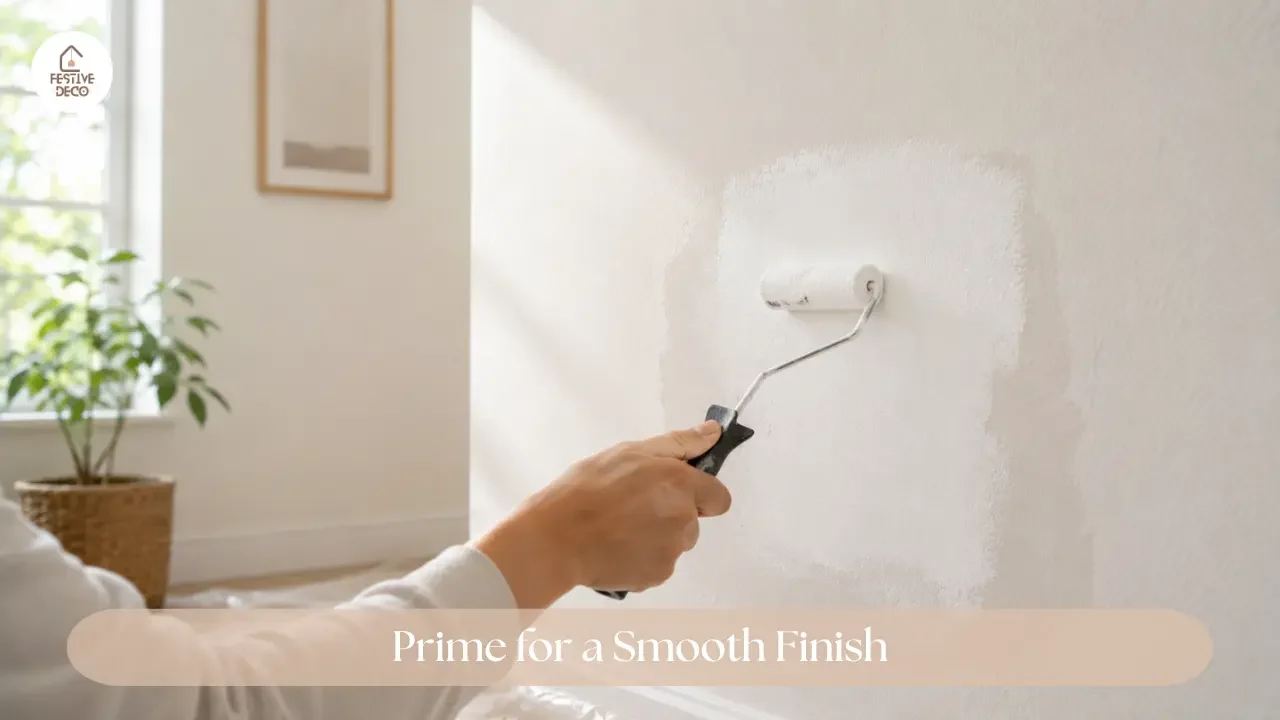
Primer is one of those steps people often skip when they are trying to do a quick touch-up. But after removing peeling paint and filling uneven spots, primer helps create a more even base for the final paint. It can also help the new paint stick better to repaired areas.
Choose a primer that is suitable for interior walls and follow the drying time written on the container. Apply a thin, even coat only over the repaired patch or over the full wall if the damage is widespread. Do not rush into painting while the primer still feels tacky. A fully dry primer gives the final coat a much better surface to hold onto.
This is especially useful when you are dealing with wall paint repair, bare plaster patches, repaired cracks, or areas where the old paint has been removed down to the wall surface.
How to Repaint a Peeling Wall for a Smooth Look
Once the primer has dried, you can repaint the repaired area. If you have leftover paint from the original wall color, stir it well before using it. Paint can settle over time, and mixing it helps the color look more even. Use a small brush for edges and a roller for wider areas so the finish blends naturally.
Apply thin coats rather than one heavy coat. A thick layer may take longer to dry and can look uneven. Let the first coat dry fully before deciding whether a second coat is needed. In many cases, two light coats give a cleaner finish than one rushed coat.
When repainting a patch, feather the paint slightly beyond the repaired area instead of stopping in a sharp square. This helps the touch-up blend into the rest of the wall. If the wall color has faded over time, repainting the entire wall may give a more consistent result.
Simple Ways to Prevent Paint From Peeling Again
Once the wall is repaired, a few habits can help protect the finish. Keep rooms ventilated, especially after showers or cooking. Wipe visible condensation from windows and avoid placing damp items directly against painted walls. If you are planning a future room makeover, make sure walls are clean, dry, and properly primed before applying new paint.
It also helps to check small issues early. A tiny bubbling patch or a faint water stain is easier to deal with than a large peeling area. Regularly looking around windows, ceilings, and bathroom corners can help you notice problems before they spread.
For better paint durability, remember to:
- Clean walls gently before painting them.
- Let repaired walls dry completely before applying primer or paint.
- Use appropriate paint for high-moisture rooms.
- Keep bathroom and kitchen spaces ventilated.
- Repair leaks or damp areas as soon as they are noticed.
A Fresh Finish That Lasts
Knowing how to fix peeling paint on walls is less about rushing to cover the flakes and more about preparing the surface properly. Remove the loose paint, smooth the patch, deal with moisture if needed, use primer, and apply thin coats of paint patiently. These small steps help the repair look cleaner and last longer.
A peeling wall can feel frustrating when you first notice it, but it does not always mean the whole room needs to be repainted. With a careful repair and a little attention to what caused the damage, the wall can look fresh, smooth, and much more put together again.
Frequently Asked Questions
Can I paint over peeling paint?
It is better not to. Loose paint should be removed first because new paint will not stick properly to an unstable surface.
Why is paint peeling in my bathroom?
Bathroom paint often peels because of steam, humidity, poor ventilation, or moisture behind the wall. Make sure the wall is dry before repairing it.
Do I need primer after removing peeling paint?
Primer is strongly recommended, especially if bare wall material, filler, or uneven patches are visible. It helps the new paint adhere more evenly.
How long should I wait before repainting a repaired wall?
Wait until filler, primer, and the wall itself are completely dry. Always follow the drying guidance on the product label.